
It’s week 3 of The One Room Challenge and our halfway point. This week I’ll be sharing our firepit barrier and the base we used for our stone. I will also be sharing the whiskey barrels we used to set our 4×4 posts for our outdoor lights.
Let’s have that update…
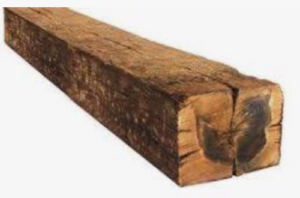
We had many thoughts for our firepit barrier. We considered stone, a metal border, and a few other options but eventually decided on railroad ties. Our local co-op sells them for $11 a piece and we couldn’t pass that up! What an affordable barrier! We ended up going with the ties for their rustic look and couldn’t be happier. We had to use our tractor and truck to lift the railroad ties coming in at a whopping 200 lbs a piece. We went with six, eight-foot pieces and used four horizontally and two to cap off the ends vertically forming a rectangle.
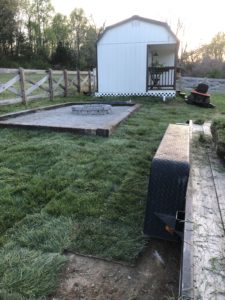
After leveling out the dirt, we used paver base, which we purchased at Lowes in bags to fill in the area around the firepit.
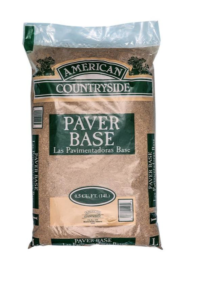 After putting the paver base in, we used a tamper tool to mash down the paver base. Once leveled out we are now set for the stone top, but that’s for next week.
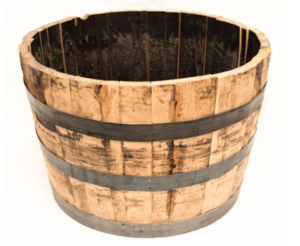
Now, on to our whiskey barrels. We went with the barrels you see below at Lowes because they are real wood, and we knew they would better hold the cement we planned to put in them.
We then mixed three bags of cement and placed it inside the barrel. Why? You ask. To hold the 4×4 post in the center.
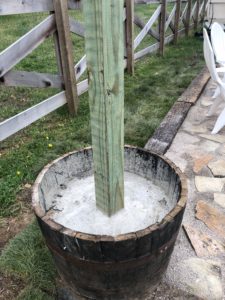
We left about a 9″ space above the cement so I could fill with flowers and potting soil. The point of the 4×4 post is to hold the outdoor lights that will be draped over the firepit area at a later date. I hope to stain these posts and then fill them with pretty flowers.
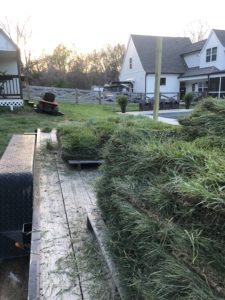
We also on a whim decided to lay sod around the fire pit area. Our back yard has been struggling since our move, and we picked up sod locally from a sod farm and laid it ourselves, saving a lot of money. We now have plush grass, and I must say it makes the firepit area that much sweeter.
That’s our update for week 3. Next, we will share our stone for the top of the firepit seating area and how we laid it. Thanks for stopping by. I can’t wait to share the big reveal!
Comments will load here